User Guide - Magento 2 Store Locator
Welcome to Magehq Docs
1. Overview
With the Magento 2 Store Locator extension, you can show your store locations on a map and give customers helpful information such as address, contact details, working hours, and directions. This extension can help you boost your site traffic, improve your local SEO, enhance your customer experience, and save time and cost.
Extension link: Magento 2 Store Locator extension
2. How Does It Work?
2.1 Settings
Please go to Stores ⇒ Configuration ⇒ Magehq Extensions ⇒ Store Locator.

In Enable: Select Yes to Enable Store locator
In Title: enter Title page store locator
In Description: enter Description page store locator
In Url key: enter url key page store locator
In Default Store Image: select image
In Display Top Link: Select Yes to display top link

In Enable search by distance: Select Yes to enable search by distance
In Enable search by area: Select Yes to enable search by area
In Bottom CMS Block: Select cms block
In Show product available on product details: Select yes to show product available on product deatails
In List Stores by: Default - Based on Sort Order of each store. Distance - Based on the distances between customers' location & stores. If customers don't enter their location, stores will be listed by Default (Sort Order). Alphabetical order - Based on alphabetical order of store name.
In Page title: Title of the Store List page and Store Details pages.
In Display holidays and special days in the next: enter day(s). Store's holidays and special days within this period will be shown in frontend.
In List Store Page Size: Limit the number of stores will be show in list store when paging at frontend.
In Image gallery: Limit the number of image for each store when uploading image.
In Google Map API key: enter key google map
In Allow Facebook comment: select Yes to allow Facebook comment
In Facebook API key: enter key facebook
In Search Criteria: Select criteria to search for store in frontend.
In Default Radius for Search: Used with Google Suggest to search nearest store from customer location. Max raidus is 2000.
In Distance Unit: Unit to measure distance between store and customer.
2.1 Manage Store
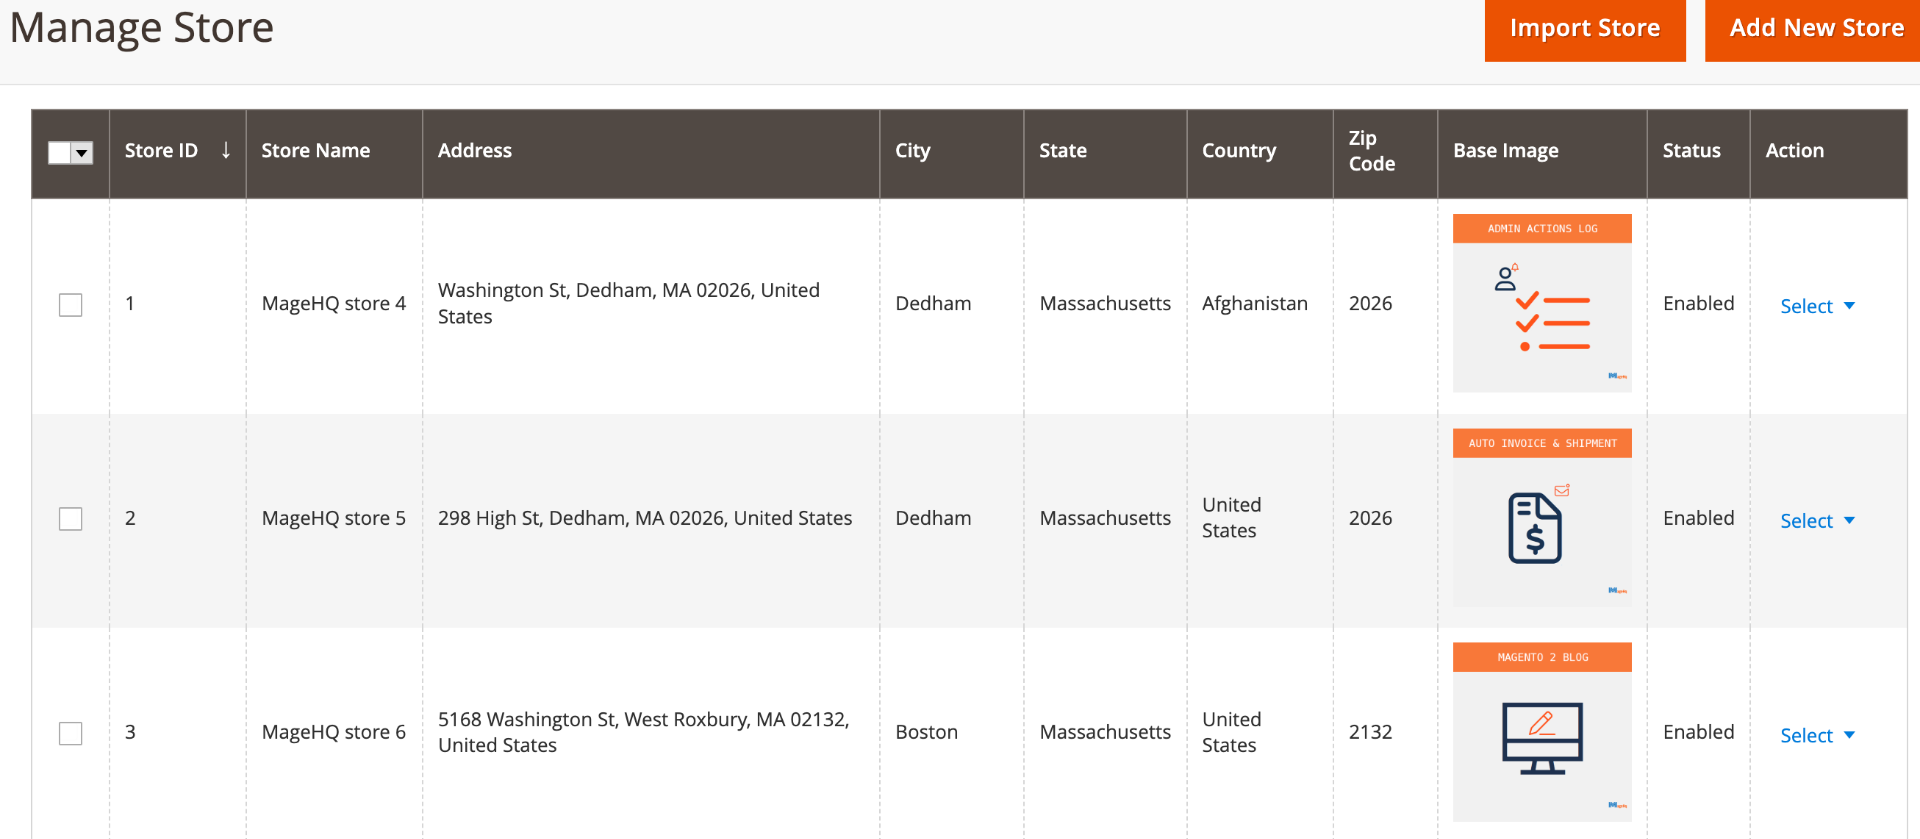
You can create a new store location by clicking the Add New button or edit an existing location by clicking on it.

In Store Name: Enter the name of the store.
In Description: You can use the detailed description field to provide more information about the store location. This information will appear on the location page on the store frontend. You can include details such as store features, special offers, customer reviews, or anything else that you think is relevant and useful for the customers.
In Status: Select Yes to enable store
In Store's Link: link must have http or https.
In Condition Type: Choise
+ No Conditions: No product on store
+ Product Conditions:

If you want all the products to be available for store locator, you can ignore this tab. However, if some products are only available in certain offline stores, you can use the conditions to assign them to the appropriate store location.
+ Inventory Source:

Please goto Stores => Inventory => Sources create inventory
In Google Map Location:

Enter a location to search. Click on map or drag the marker to set store position.
The information in popup will help you to get location information of your store in Google Map faster.
+ In Image Gallery
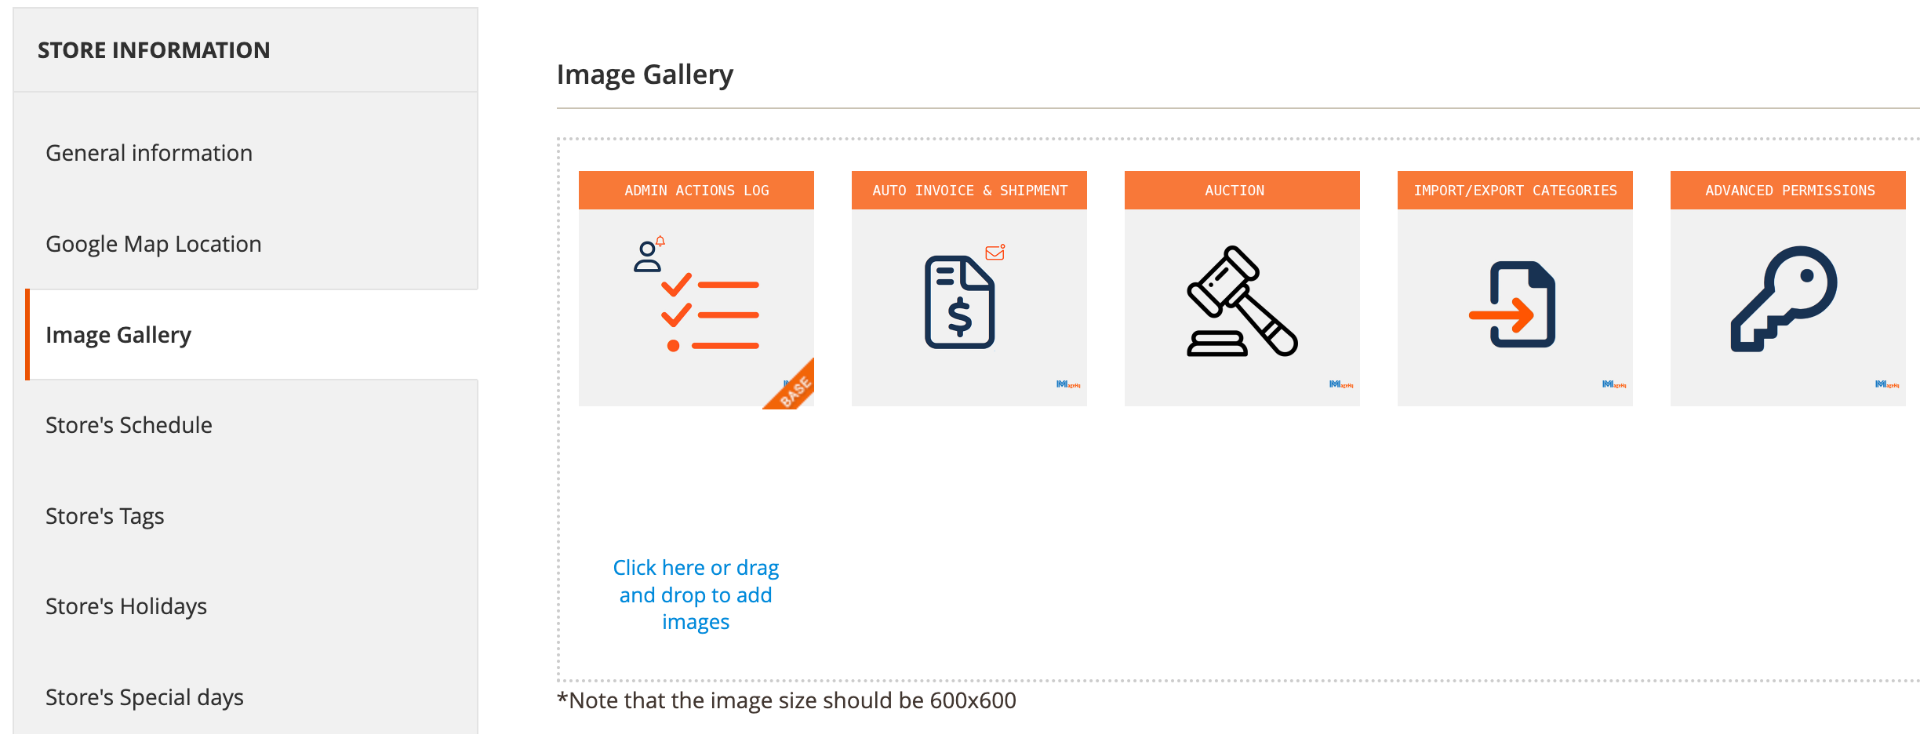
Click here or drag and drop to add images.
You can use the image gallery to make your store location page more attractive for customers. To select the main picture of the store, click on 'Make Base' on one of the images. The main picture will be shown as the first image on the location page.
2.3 Manage Tag

Click Add New Tag

2.4 Manage Schedule

2.5 Manage Holiday

2.6 Manage Special day

2.7 Show on frontend


