User Guide - Magento 2 Shop by brand Extension
Welcome to Magehq Docs
1. Overview
Magento 2 Shop by Brand extension allows you to produce, customize brands, assign products to that brand, engage guests in shopping conditioning with their favorite brands.
Extension link: Magento 2 Shop by Brand extension
2. How Does It Work?
2.1 Settings
Please go to Stores ⇒ Configuration ⇒ Magehq Extensions ⇒ Shop by brand.

In Enabled: choose Yes to enable the module
In Brand Attribute: Select an attribute to show brands.
In Brand route: Custom brand page URL. Default: brand
In Brand Link Title: Enter the title of brand link. Default: 'Brands'
In Show Brand Link In: field choose the position of putting brand link: Toplink, Footer link and Category
In Show brand logos in product page: Select Yes to display brand logos in the product page
In Show brands in drop-down category menu: Select Yes to allow brand names to show up in the drop-down category menu

In Show Featured Brands: Select Yes to enable displaying the featured brands block in the sidebar
In Title Featured Brands: Enter the title of the featured brand name block. Default: Featured Brand
In Show Title Featured Brands: Select Yes to show featured brand title

In Show Category Brand: Select Yes to enable displaying the Category Brand block in the sidebar
In Title: Enter the name of the Category Brand block. Default: Brand Category.
In Category's quantity limit: Enter the maximum number of categories in the block
In Show Brand Category Quantity: Select Yes to show the number of brand categories.

In Brand list name: This name will be displayed on Brand Page title, Breadcrumbs
In Style of Brand List Page: Select List View to have brands shown as a list or Alphabet Style to have them appear in the alphabet order.
Recommended: Alphabet Style
In Display Option: Select things to show with brands.Default: Logo and Label
In Show Brand Name on Product Listing Page: It will show Brand name in Product listing page such as: Category, Layered Navigation, Catalog Search results
In Background Image: The backgound image of Brand Page.
In Style Color: The main color of Brand Page.
In Show Brand Description: Select Yes to show description of each brand in brand list. Default: NO
In Show Brand Product Quantity: Select Yes to show product quantity of each brand list. Default: NO
In Show Brand Quick View Popup: Select Yes to quick view popup of each brand. Default: NO
In Custom CSS: Example: .step-title{background-color: #1979c3;}

In Show Brand Categories Filter: Select Yes to enable Brand Category filter. Default: NO
In Show Brand AlphaBet Filter: Select Yes to enable Brand Alphabet filter
In Brand Alphabet: Enter the alphabet used for Brand Filter.Default Alphabet: A,B,C,D,E,F,G,H,I,J,K,L,M,N,O,P,Q,R,S,T,U,V,W,X,Y,Z .
In Character Set: Default: UTF-8. Encode key for specific language (leave blank for default value). E.g: UTF-8, ISO-8859-1

In Show Search Block: Select Yes to show Search Block.
In Color Title: enter color title
In Min chars: Enter the minimum number of characters used to search brand names. Default: 1.
In Number of Search Result: Enter the maximum number of searched results. Leave 0 or empty to set no limit.Default: 10.
In Show Thumbnail Image: Select Yes to show brand thumbnails in the search result list.

In Show Featured Brands: Select Yes to enable the feature.
In Display Featured Brands Style: Select display style for featured brands.*You must have at least 2 featured brands are required to be shown in a slider
In Title: Enter the title of the block. Default: Featured Brand.
In Display Information: Select information displayed with featured brands.
In Embedded Code: Use following code to show featured brand block in any place which you want
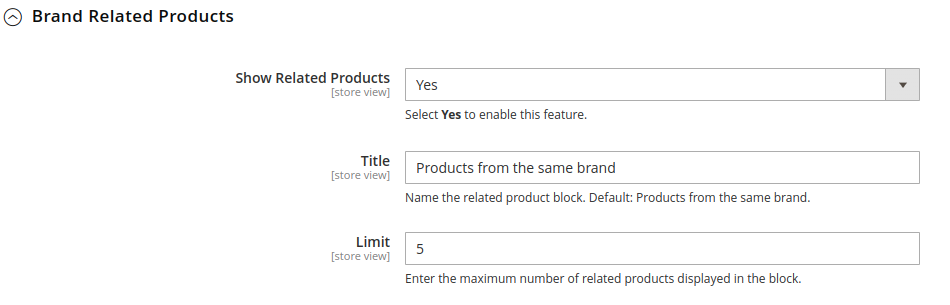
In Show Related Products: Select Yes to enable this feature.
In Title: Name the related product block. Default: Products from the same brand.
In Limit: Enter the maximum number of related products displayed in the block.

In Default Image: Upload image for brand. If no file is chosen, the default image will be used (ipg,jpeg,gif,png)
In Default Block: Select a CMS Static Block to have it displayed in the Brand Page.
In Show Brand Banner On Brand Page: Select Yes to display brand banner in the Brand Page.
In Show Brand Image On Brand Page: Select Yes to display brand image in the Brand Page.
In Show Brand Description On Brand Page: Select Yes to display description of brand in the Brand Page.
In Show Brand Static Block On Brand Page: Select Yes to have the CMS Static Block chosen above displayed in Brand Page.

This is a new sweet treatment for marketing purpose, choose “No” if you don’t wish search engines index pagination pages.
2.2 Manage Brands
This module provide a short-cut way for navigating to “manufacturer” workplace, from here you will manage all available brands and create new one. Make you way to MAGEHQ > Shop By Brand > Manage Brands

To generate a new brand, follow these steps
-
All brands are listed under Manage Options section, click on Add option on the bottom of the list, right after, a new row will appear.
-
Click on Save Config to save the new brand.
-
Tap Setting to open the “Brand Information” page for configuration.
-
Under Brand Information section,
- Set Page Title for the new brand
- Create URL Key
- Upload Brand Image from your computer
- Set the brand to be displayed on featured brand slider or not in Featured field
- Enter Short Description (appear on the search result) and Description (appear on Brand Listing)
- Choose the CMS Block to show brand as a static block on anywhere of your page. You can disable it by leave it blank.
-
Expand Meta Information section, you can complete all fields for your better SEO, including:
- Meta Title
- Meta Keywords
- Meta Description
-
Save Brand to ensure that the configuration for the new brand is successful.

2.3 Import Brands
Go to Magehq > Shop by brand > Import Brand > Import Settings > Entity Type field, choose “Magehq Shopbybrand” to expand Import Behavior and File to Import fields.

Follow those steps next
- In Import Behaviour fiels, choose Import Behaviour as “Add/Update”
- In File to Import field, browse your brand’s CSV file in Select file to Import
- Copy the file contains Brands in the csv file to the /var/import/images section of the site.
2.4 Category Brand

This is a separated module to manage Categories on filter searching. Also you can customized some crucial meta data tags like Meta Title, Meta Description, Meta Keywords or Meta Robot
2.5.Assign product to brand

This guide helps you classify what brand a product is made by.
- On the Admin Panel, Product > Inventory > Catalog.
- Select an exact product you want to assign, and open Edit mode under Action column.
- On the settings page of the product, you will see ` Manufacturer` field that allows assigning a corresponding brand to that product.
Savethe change to complete the brand attachment.- When finish all, the brand logo will display on both Brand Listing Search and the product detailed page of the assigned product.
2.6.Brand Widget

Get access to Content > Widget > Add Widget to add on brands that you want to display on your website.
2.6.Show on frontend
