User Guide - Magento 2 Seo Ultimate Extension
Welcome to Magehq Docs
1. Overview
Seo Ultimate extension for Magento 2 manages all on-page seo operations such as page optimization, indexing advancement, duplicate content deletion, XML sitemap, HTML sitemap, etc. that support higher rankings in SERPs
Extension link: Magento 2 Seo Ultimate extension
2. How Does It Work?
2.1 Settings
Please go to Stores ⇒ Configuration ⇒ Magehq Extensions ⇒ Seo.

In Enable : choose Yes to enable Seo
In Enable Custom H1 Page: This new heading 1 will replace the original h1 of category, CMS page & product page
In Add Nofollow meta in Search Result: choose Yes to Add Nofollow meta in Search Result
In Stop Words: choose Yes to stop words
In Canonical Tag Enable: choose Yes to enable canonical tag enable
In Use Other Url for Homepage: Leave it blank if you want to use the default Canonical Tag
In Canonical for Product: choose Yes to enable canonical for product
In Use Next/Previous Tag in Category: choose Yes to Use Next/Previous Tag in Category
In Canonical points to https: Prefer the https version of a page (a valid ssl certificate is required)

In Google Search Console: Enter verification code, it will be added into tag
In Bing Webmaster Tools: Enter verification code, it will be added into tag
In Pinterest: Enter verification code, it will be added into tag
In Yandex Webmaster Tools: Enter verification code, it will be added into tag

In Page Analysis Enable: choose Yes to enable page analysis

In Enable Redirects: choose Yes to enable redirects
In Better 404 page: choose Yes to Automatic redirect to home page.

In Enable/disable SEO Crosslinks: choose Yes to enable SEO cross links
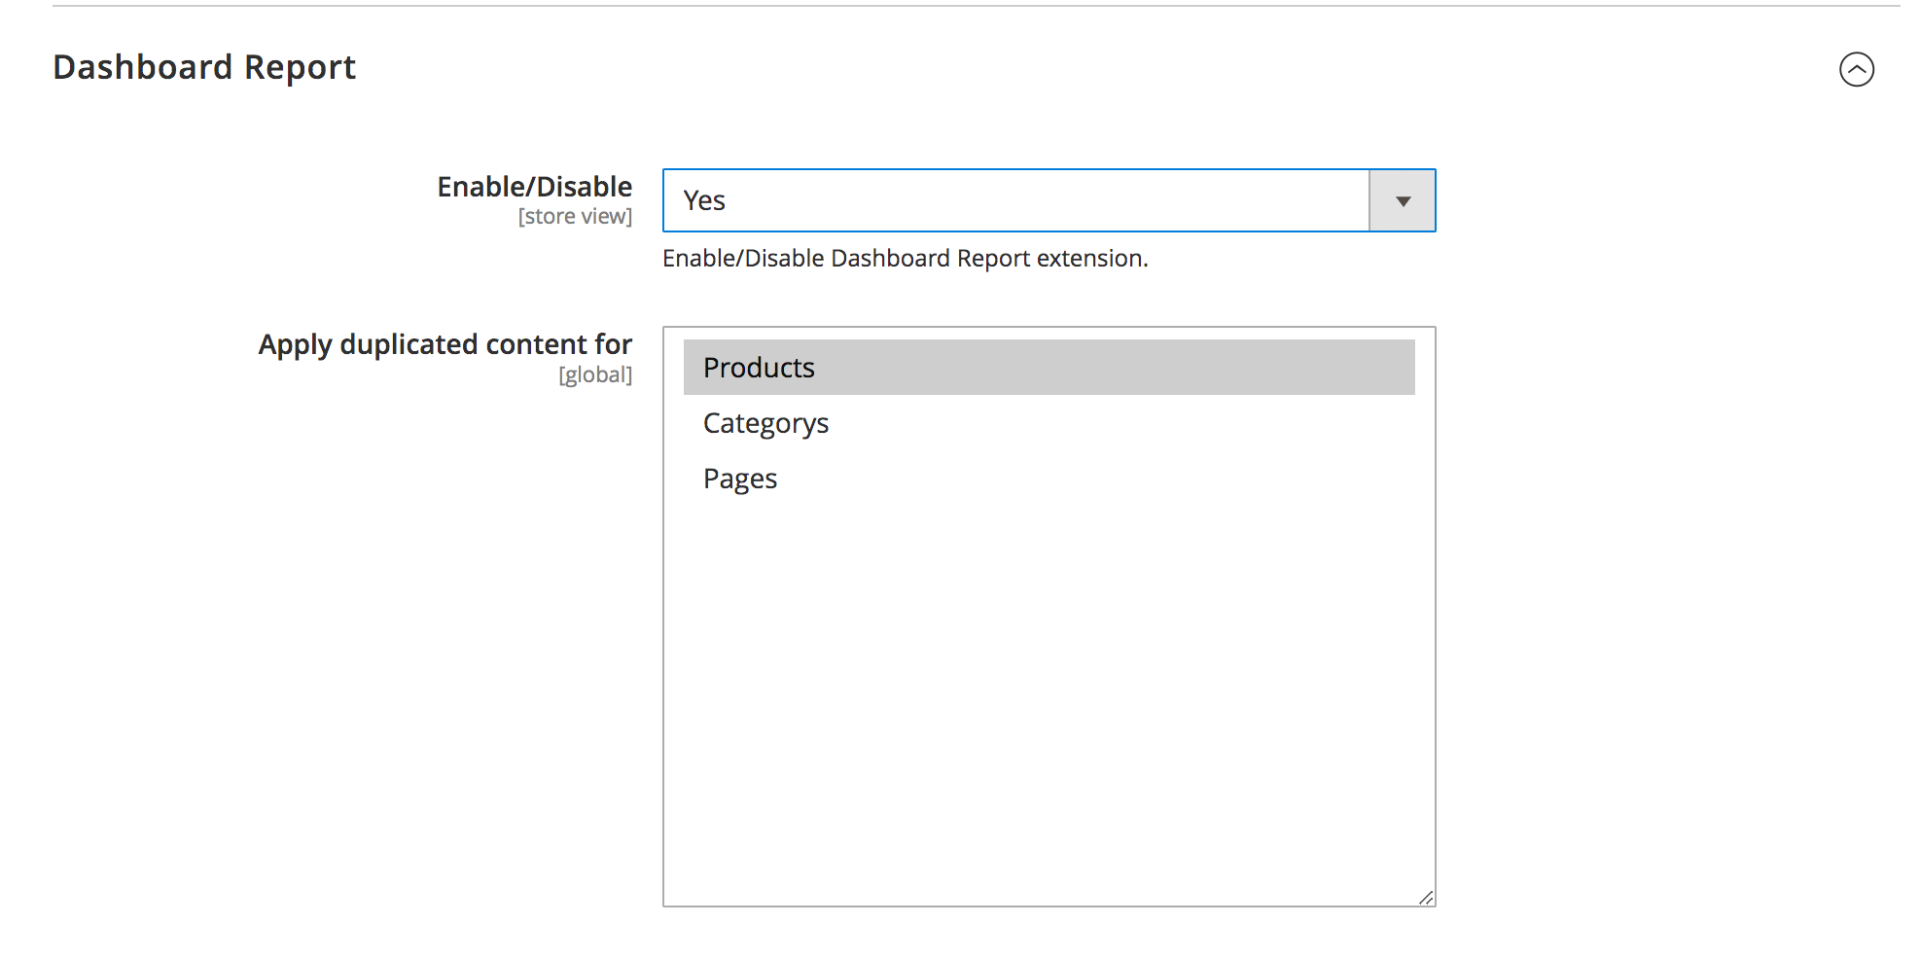
In Enable/Disable Dashboard Report: choose Yes to enable dashboard report
In Apply duplicated content for: choose Products or Categorys or Pages
2.2 Edit Product


In Rich Data Preview: Rich results are experiences on Google surfaces
In Meta Title and Meta Description: display a color bar to notify admins about how valid title and description are, according to the number of characters.
In Main Keyword: Enter the main keyword and it is used to for SEO Audit and Google Search Console.
In SEO Audit: The module gives you a list of messages to notify about:
+ The usage of main keyword in meta title, meta description, product description, and URL
+ Main keyword density
+ The current situation of description
+ Outbound links
2.3 Html Sitemap
Please go to Stores ⇒ Configuration ⇒ Magehq Extensions ⇒ Html Sitemap.

In Enable: choose Yes to enable the module, or No to disable it.
In Show Store: select Yes to show store
In Show Categories: select to show categories
In Maximum category depth level: Leave empty for default (all categories).
In Show Products: Keep it disabled if you have a big number of products.
In Categories/Products Sort Order: select Name or Position
In Show CMS Pages: select Yes to show cms pages
In Show Additional Links: select Yes to show additional links
In Additional Links: A comma-delimited list of links and link labels to append to the sitemap.
In Title: enter title
In Meta Description: enter meta description
In Meta Keywords: enter meta keywords
2.4 Lazy Load
Please go to Stores ⇒ Configuration ⇒ Magehq Extensions ⇒ Lazy Load.

In Enable Lazy Load: choose Yes to enable the module, or No to disable it.
In Lazy load images: choose Yes to enable lazy load images.
In Lazy load iframes: choose Yes to enable lazy load iframes
In Lazy load CMS: choose Yes to enable lazy load CMS
In Lazy load Product Attribute: choose Yes to enable Lazy load Product Attribute.Attributes: description, short description,etc
In Lazy load Category Attribute: choose Yes to enable Lazy load Category Attribute.Attributes: description, image
In Use Low Resolution Image: choose Yes to Show a low resolution preview image before the real image loads.
In Placeholder Image: select Placeholder Image
In Skip images with classes: Comma-separated. Example: "no-lazy, lazy-ignore"
In Threshold: Amount of pixels below the viewport, in which all images gets loaded before the user sees them.If the threshold is set to 200, the image will load before you scroll to 200 pixels.
In Delay: If you want to load all elements at once after page load, then you can specify a delay time in milliseconds.
In Effect: select Show or Fadein
In Effect Time: Time in milliseconds the effect should use to view the image.
2.4 Image Optimizer
Please go to Stores ⇒ Configuration ⇒ Magehq Extensions ⇒ Image Optimizer.

In Enable: choose Yes to enable the module, or No to disable it.
In Enable Scan and Reindex Process Cron Job: Enables or disables scan and reindex process cron job.
In Cron Expression for Scan and Reindex Process: Cron expression used to trigger scan and reindex process. Example: 15 4 * * * (once a day at 4:15 AM)
In Enable Optimization Process Cron Job: Enables or disables optimization process cron job.
In Cron Expression for Optimization Process: Cron expression used to trigger image optimization process. Example: 0 * * * * (once an hour)
Manage Image Optimizer

Create/View Image Optimizer
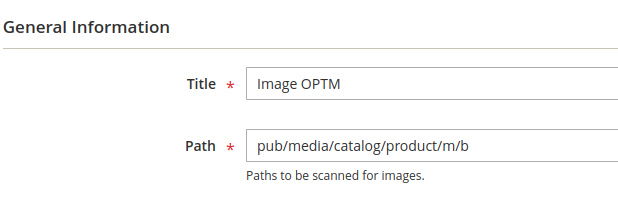
In Title: enter title
In Path: Paths to be scanned for images.

In Use system with 64-bit: select Yes to use system with 64-bit
In GIF Format: Optimization utility for .gif files.
In GIF Options: Options for optimization of .gif files.
In JPG Format: Optimization utility for .jpg files.
In JPG Options: Options for optimization of .jpg files.
In PNG Format: Optimization utility for .png files.
In PNG Options: Options for optimization of .png files.

In Scan Images: click start scan images
In Optimization Process: click start Optimization Process

2.6 Hreflang Tag
Please go to Stores ⇒ Configuration ⇒ Magehq Extensions ⇒ HREFLANG Tag Support.
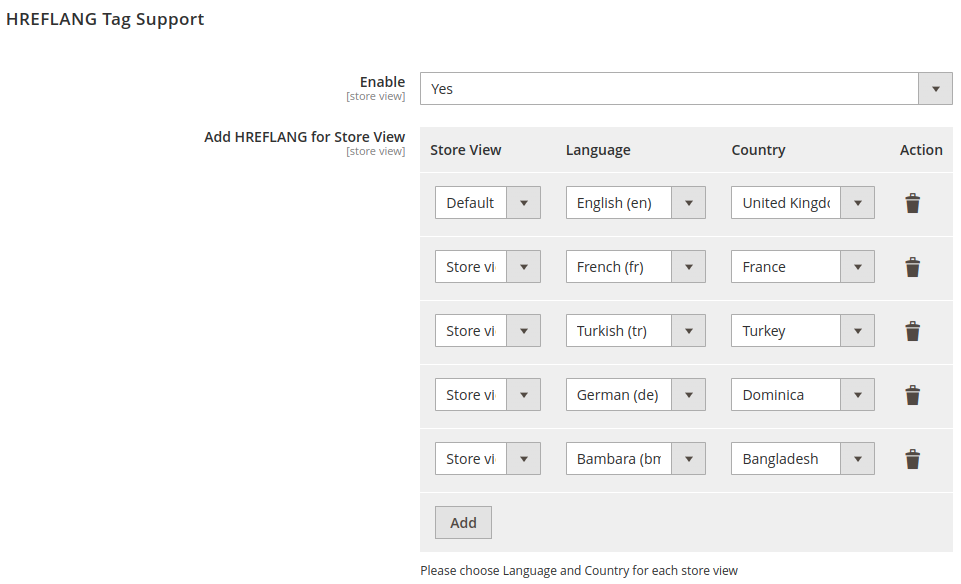
In Enable: choose Yes to enable the module, or No to disable it.
In Add HREFLANG for Store View: Please choose Language and Country for each store view

In Enable for Homepage: select Yes to enable for homepage
In Enable for Category Page: select Yes to enable for category page
In Enable for Product Page: select Yes to enable for product page
In Enable for CMS Page: select Yes to enable for CMS page
2.7 Rich Snippets
Please go to Stores ⇒ Configuration ⇒ Magehq Extensions ⇒ Rich Snippets.
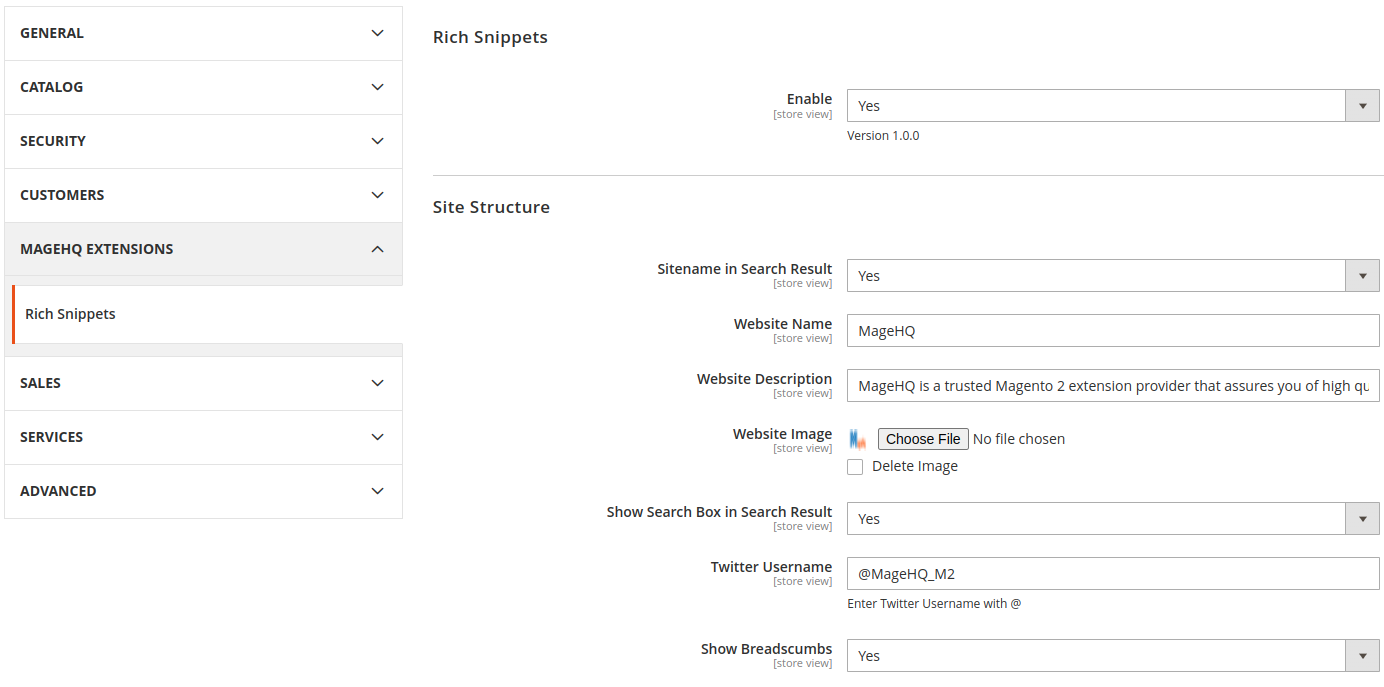
In Enable: choose Yes to enable the module, or No to disable it.
In Sitename in Search Result: choose Yes to enable sitename in search result
In Website Name: enter Website Name
In Website Description: enter Website Description
In Website Image: select Website Image
In Show Search Box in Search Result: select Yes to enable show search box in search result
In Twitter Username: Enter Twitter Username with @
In Show Breadscumbs: select Yes to enable show breadscumbs

In Enable Business information: choose Yes to enable business information
In Website Name: enter Website Name
In Alternate Name: enter Alternate Name
In Business Name: enter Business Name
In Business Email: enter Business Email
In Business Logo: select Business Logo
In Business Phone Number: enter Business Phone Number
In Sales Phone Number: enter Sales Phone Number
In Technical support: enter Technical support
In Price Range: The price range of the business, for example $30 - $4000
In Locality: enter Locality
In Street Address: enter Street Address
In Country: enter Country
In Post Code: enter Post Code
In Social Profile Links: Enter one link per line
2.7 Robots Meta Tag
Please go to Stores ⇒ Configuration ⇒ Magehq Extensions ⇒ Robots Meta Tag.

In Enable: choose Yes to enable the module, or No to disable it.
In Robots Meta Tag: Enter URLs based on these following formats.
1. With specific Category Page or Product Page: enter the URL key
For example: your product page URL is http://yourdomain.com/teton-pullover-hoodie.html.
Then URL key is teton-pullover-hoodie
2. With categories or a folder: Enter the path with "/" before and after the path
For example: You want to set No Index and No Follow for all categories with the "tops-men" URL key. Please enter: /tops-men/
In NOINDEX, FOLLOW Robots Meta Header: Hold Ctrl when choosing multiple options
2.8 Show on frontend
Rich results are experiences on Google surfaces, such as Search, that go beyond the standard blue link. Rich results can include carousels, images, or other non-textual elements.
Display multiple Rich Snippets for products (price, rating, availability, etc.).
Change the details displayed in search results, helping your customers see useful information. SERPs will display the price, reviews, number of reviews, in stock/out of stock status, and custom attributes of the product to give potential customers a good look at the product and encourage them to click out link for more details.