User Guide - Magento 2 Blog Extension
Welcome to Magehq Docs
1. Overview
The Magento 2 Blog Extension allows you to create and manage a blog on your store, allowing you to provide your customers with useful content and increase your SEO ranking and website traffic
Extension link: Magento 2 Blog extension
2. How Does It Work?
2.1 Settings
Please go to Stores ⇒ Configuration ⇒ Magehq Extensions ⇒ Blog.

In Enabled: choose Yes to enable the module, or No to disable it.
In Menu Item Title: enter title menu item
In Display Blog Link in Footer: select Yes to display blog link in footer.
In Display Blog Link in Header: select Yes to display blog link in header.
In Display Blog Link in Top Menu: select Yes to display blog link in top menu.
In Route: Must NOT contain any slashes. For example: http://domain.com/blog
In Url Suffix: Add Your extension at end of Link, for example: http://domain.com/your_route/POST_IDENTIFIER.URLSUFFIX
In Use Categories Identifier in Posts URLs: select Yes or No
In Date Format: Full: Tuesday, April 12, 1952 AD or 3:30:42pm PST,LONG: January 12, 1952 or 3:30:32pm,MEDIUM: Jan 12, 1952,SHORT: 12/13/52 or 3:30pm
In Disabled All Comment Blocks: select Yes or No

In Show Breadcrumbs: select Yes to show breadcrumbs
In Show Toolbar Top: select Yes to show toolbar top
In Show Toolbar Bottom: select Yes to show toolbar bottom
In Show Image: select Yes to show image.
In Image Width: enter image width
In Image Height: enter image height
In Show Title: select yes to show title
In Show Short Description: select yes to show short desciption
In Short Description Character Count: Number of characters in a post to be displayed before it is truncated and the Read More link is added. 0 for unlimited.
In Show Readmore Link: select yes to show readmore link
In Show Categories: select yes to show categories
In Show Author: select Yes to show author
In Show Comment Count: select Yes to show comment count
In Show Updated Time: select Yes to show updated time
In Show Created Time: select Yes to show created time
In Show Hits: select Yes to show hits
In Show Tags: select Yes to show tags

In Show Like/Disklike Buttons: select Yes to show like
In Show Image: select Yes to show image
In Image Width: enter image width
In Image Height: enter image height
In Show Title: select yes to show title
In Show Description: select yes to show description
In Show Categories: select yes to show categories
In Show Author: select yes to show author
In Show Comment Count: select yes to show comment count
In Show Updated Time: select yes to show updated time
In Show Created Time: select yes to show created time
In Show Social Block: select yes to show social block
In Show Hits: select yes to show hits
In Show Tags: select yes to show tags
In Show Social Networks: select yes to show social networks
In Show Comment Block: select yes to show comment block
In Allowable Tags: enter tags

In Type: select type
In Auto Publish Comment: select yes to auto publish comment
In Number Comments per Page: enter number comments
In Limit Chars Comment Content: enter limit chars
In Allow Reply A Comment: select Yes to allow reply a comment
In Enable ReCAPTCHA V2: select Yes to enable captcha
In Allow Send Notify Email: select Yes to Send notify email to admin user when a guest submit a comment on the blog post
In Send Emails To: enter email
In Email Sender: select email sender
In Email Template: select email template
In Enable Next/Prev Posts Nav Block: select yes to enable next/prev posts
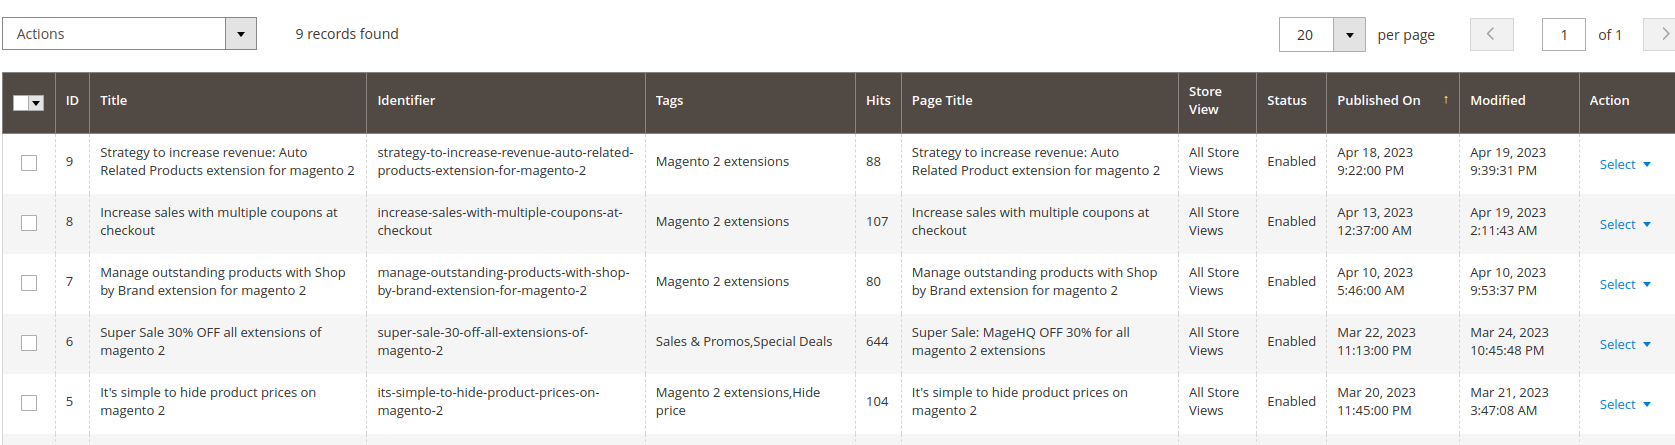
2.2 Manage Post
2.3 Manage Category

2.4 Manage Comments

2.5 Manage Authors

2.6 Show on frontend
